


Hearing every step in the shower as a hollow thump? You are not alone. In many homes, the floor assembly under the shower behaves like a drum that amplifies impact.
This 2026 guide shows how to cut footfall noise in the shower without changing the floor. You will learn practical, renter‑friendly fixes that work from the top side of the surface, plus quick tests to confirm results.
Impact physics: why the base booms
Footstep noise in a shower is mostly impact sound—vibration from your heel striking a hard surface. The shower base or tiled pan sends that vibration into joists and down to rooms below.
- Hard, thin surfaces ring; soft, thick surfaces damp.
- Large, unsupported spans in the tray flex and “drum.”
- Edges that touch walls can bridge vibration into studs.
- Low frequencies travel farther through the structure.
- Water splashes add an echo, but footsteps dominate.
A 10 dB drop in impact sound is perceived as roughly half as loud. That’s why even small top-side changes feel big beneath.
Building codes use IIC (Impact Insulation Class) to rate floors. Your shower pan was likely not optimized for IIC, so your job is to add loss and isolation on top of the existing surface.
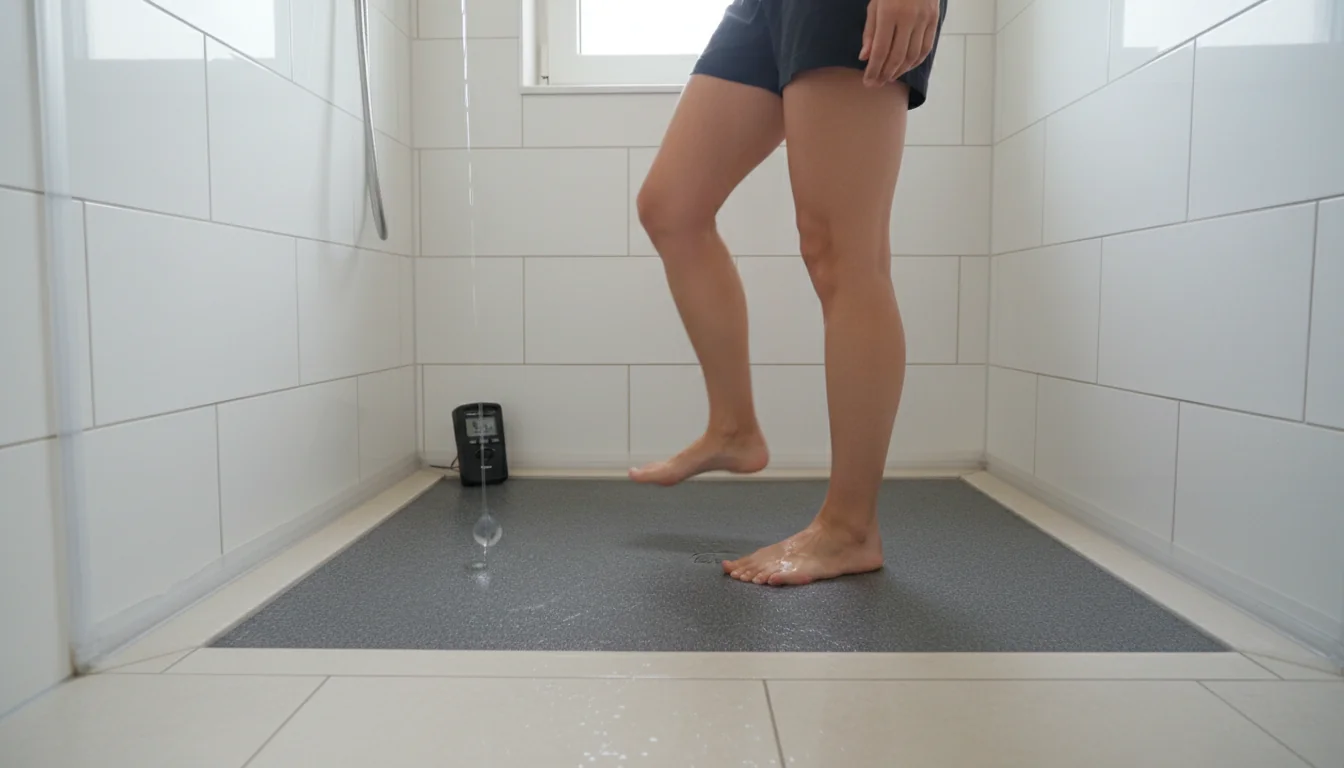
Topside damping: soft layers on tiles
The fastest win is to add a soft, water‑safe layer on the shower surface. You’re increasing contact area and creating a cushion that soaks up heel strike energy.
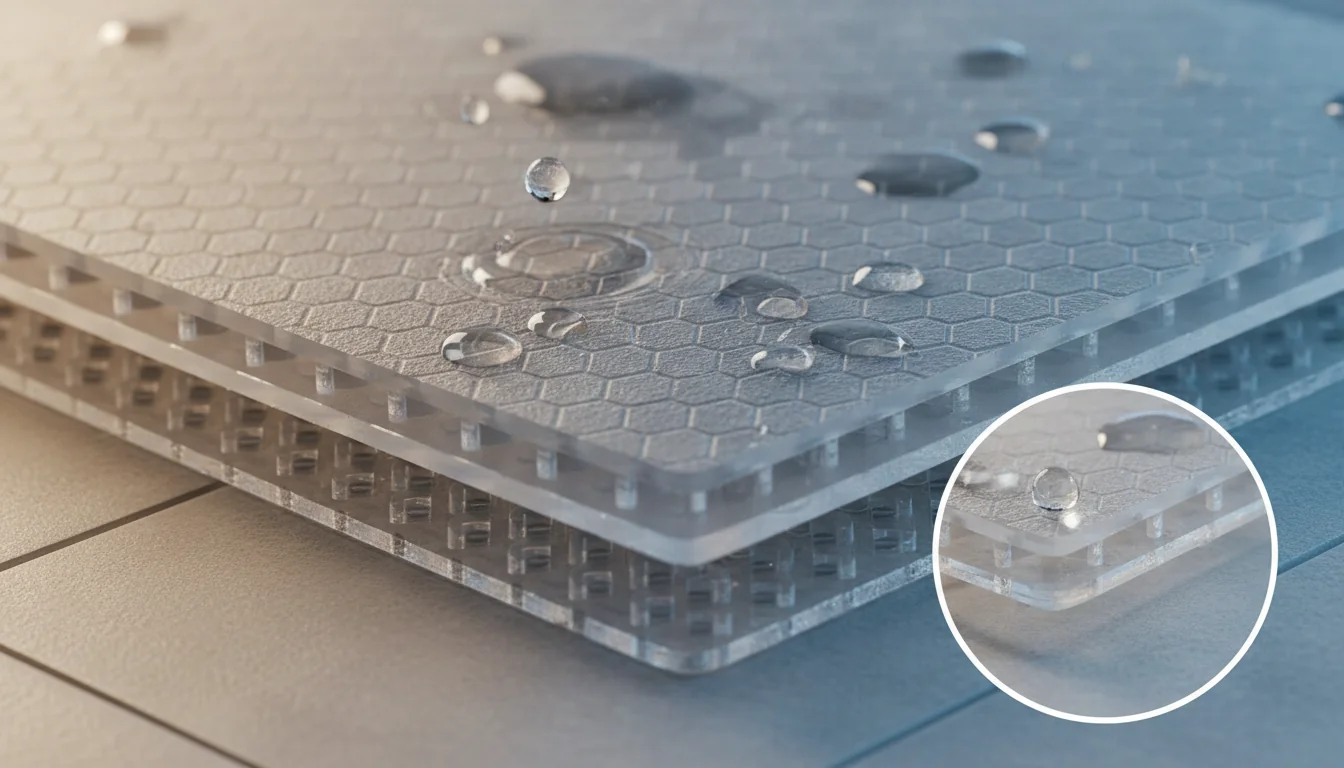
- Perforated rubber mats to absorb impact and drain water.
- Textured EVA or PVC inserts to spread pressure.
- Modular slip‑resistant tiles that clip together.
- Soft‑soled shower sandals to quiet your step at source.
Choose a mat with open channels underneath. It cushions the foot and breaks the acoustic “bond” with the hard tray.
A dense, grippy insert is ideal when you want top‑side mass and traction in one piece. Consider a thick rubber anti‑slip layer to tame the hollow thump while keeping footing secure.
| Overlay option | Noise effect (top-side) |
|---|---|
| Perforated rubber mat | Adds damping; reduces “drum” and heel clicks |
| EVA/PVC insert | Spreads load; softens contact frequencies |
| Soft‑soled sandals | Quiets at source; flexible and renter‑friendly |
Avoid spongy foams that trap water. Pick closed‑cell materials or perforated designs that dry fast and resist mildew.
Decouple the tray: slats and feet
If the pan or tile bed flexes, create a mini “floating” surface above it. A removable platform breaks the rigid contact and spreads load.
- Use slatted inserts (teak‑style or polymer) with non‑marring feet.
- Add thin silicone pads under each foot to avoid hard bridging.
- Size it to leave a clear path to the drain for fast runoff.
- Test different placements; even 1–2 cm shifts can cut resonance.
Aim for 4–8 contact points with soft interfaces. Fewer, softer feet reduce the vibration path into the base.
For walk‑in spaces, a low‑profile insert with high traction keeps the top surface quiet and safe. Explore a walk‑in friendly anti‑slip insert that cushions heel strike while preserving the open look.
Less rigid contact means less structure‑borne sound. You’re decoupling the active surface from the hard support below.

Seal perimeters: curb, drain, and walls
Even when you cannot modify the flooring, you can reduce acoustic “shortcuts.” Tiny gaps around the perimeter can buzz or rattle when the pan flexes.
- Refresh flexible sealant at the wall‑to‑base junctions.
- Check the drain flange; add a thin rubber gasket if it chatters.
- Prevent hard contact between a platform and the curb with pads.
- Fill micro‑gaps where water hums or whistles into cavities.
Use sanitary‑grade, mildew‑resistant caulk. Do not bridge a moving joint with rigid filler that can crack and buzz.
In tight stalls, a shaped insert targets the noisiest zone while keeping corners quiet and sealed. A corner‑friendly option like this compact corner mat adds damping exactly where heels land.
Community “board index” tips often mention sealing. It’s simple, reversible, and directly addresses edge‑borne rattles.
Smart habits: quieter steps on hard pans
Technique matters. How you move on a hard surface shapes both loudness and the character of the thump that neighbors hear below.
- Land midfoot, not heel‑first; roll through the step.
- Use soft‑soled shower footwear for instant damping.
- Shift weight more slowly when turning or reaching.
- Avoid jumping or dropping shampoo bottles onto the base.
If nights are especially quiet, schedule showers earlier. Low ambient noise makes each footfall feel louder below.
These small changes reduce the energy entering the surface. Combined with a mat or slatted insert, you’ll hear less drum and feel a quieter floor underfoot.
If below is yours: ceiling strategies
When you control the room below, you can intercept impact sound at the ceiling. This does not alter the shower surface and remains fully reversible.
- Add a decoupled ceiling (resilient hangers + dense board).
- Fill the joist bay under the pan with mineral wool.
- Seal lighting cutouts; no rigid contact with joists.
- Target the shower footprint; partial ceilings can suffice.
Mass + decoupling + absorption. Together, they raise effective IIC without touching the shower base above.
For strata and condos, many regulations reference minimum impact isolation. If you renovate later, pursue assemblies that meet DIN 4109‑style goals or similar standards.
Quick guide: quiet a shower surface today
- Measure the pan and locate the loudest zone by light tapping.
- Place a perforated insert directly over that zone; test steps.
- If needed, add a slatted platform with soft feet on top.
- Seal small perimeter gaps that buzz or rattle underfoot.
- Adopt midfoot steps and soft‑soled footwear in the stall.
If your enclosure is 120×80 cm, try extra long shower mat to avoid trimming and speed up the install.
Do not glue anything rigid to the pan. You’ll re‑create a hard bridge and may void waterproofing.
Why target the shower surface first?
Impact starts where your foot meets the base. Softening that contact gives the largest reduction before vibrations spread through the floor structure.
How does a mat compare with a slatted insert?
Mats add damping and grip; slats add decoupling and weight spread. Combining both can cut the “drum effect” from the tray more effectively.
Will a thicker overlay block the drain?
Choose perforations and elevated channels. Keep a clear path to the waste so water flows freely and the surface stays stable underfoot.
Is there a safer option for aging users?
Yes. Look for extra‑grip textures and cushioned feel. For example, a senior‑secure surface balances slip resistance with impact noise control.
Can I reach code‑level isolation from the top?
Top‑side layers improve comfort but won’t fully match a rebuilt assembly’s IIC. They still deliver clear, practical reductions for daily use.
Which part of the base is usually loudest?
Mid‑span areas between support points. Tap lightly and listen: where resonance peaks, add the most damping and decoupling.
What about mats in walk‑in designs?
Pick low‑profile, high‑drain overlays that respect the slope. A walk‑in insert preserves accessibility while calming the surface thump.
Do corners matter as much as the center?
Heels rarely load corners, but corner dampers stop edge buzz. A shaped piece in that zone can make the whole pan sound tighter.
Quieting footstep noise in the shower is about softening contact and interrupting vibration paths—right on the surface you stand on.
- Top‑side damping with perforated, grippy overlays.
- Decoupling via slatted inserts with soft feet.
- Edge control by sealing and avoiding hard bridges.
If you want a discreet solution for tight layouts, try a low‑profile insert for open showers to keep the base calm and safe while you wait for a future renovation.

0 comments