


If your shower mat slips, the whole shower becomes a risk zone. Wondering how to maintain the suction cups on a non-slip shower mat so they grip like new?
This 2026 guide gives you precise, mobile-friendly steps to restore suction, stop mildew, and match your setup to the right surface. You’ll learn quick daily habits, weekly deep-clean methods, material-specific tips, and safety checks tailored to a wet, soapy shower environment.
Lasting grip: clean shower contact
Suction cups hold by expelling air and forming a seal against a smooth, non‑porous surface. In the shower, anything between the cup and the base—soap scum, hard‑water scale, body oils—breaks that seal and invites slips.
- Residue build-up: shampoo, conditioner, and soap film weaken non-slip contact.
- Mineral deposits: limescale adds micro-bumps under the mat.
- Moisture trapped: slow drainage and standing water lift edges and cups.
- Surface mismatch: textured shower bases and pebbled tiles resist suction.
- Cup fatigue: warped PVC or rubber after heat exposure won’t seal well.
Rinse after every shower. Lift, spray both sides, and stick the mat on a wall to air‑dry so the suction cups don’t sit in soap and grime.
If your stall has a truly textured floor, a suction-based bath mat may never hold reliably. Consider non-suction alternatives in that case; otherwise, get the cups and shower base spotless and focus on proper installation.

Smarter cleaning: shower soap control
A non-slip shower mat thrives on a simple, regular routine. Balance quick rinses with deeper cleans to keep the suction cups grippy and the underside hygienic.
- After each shower: lift, rinse, and hang to promote drainage and airflow.
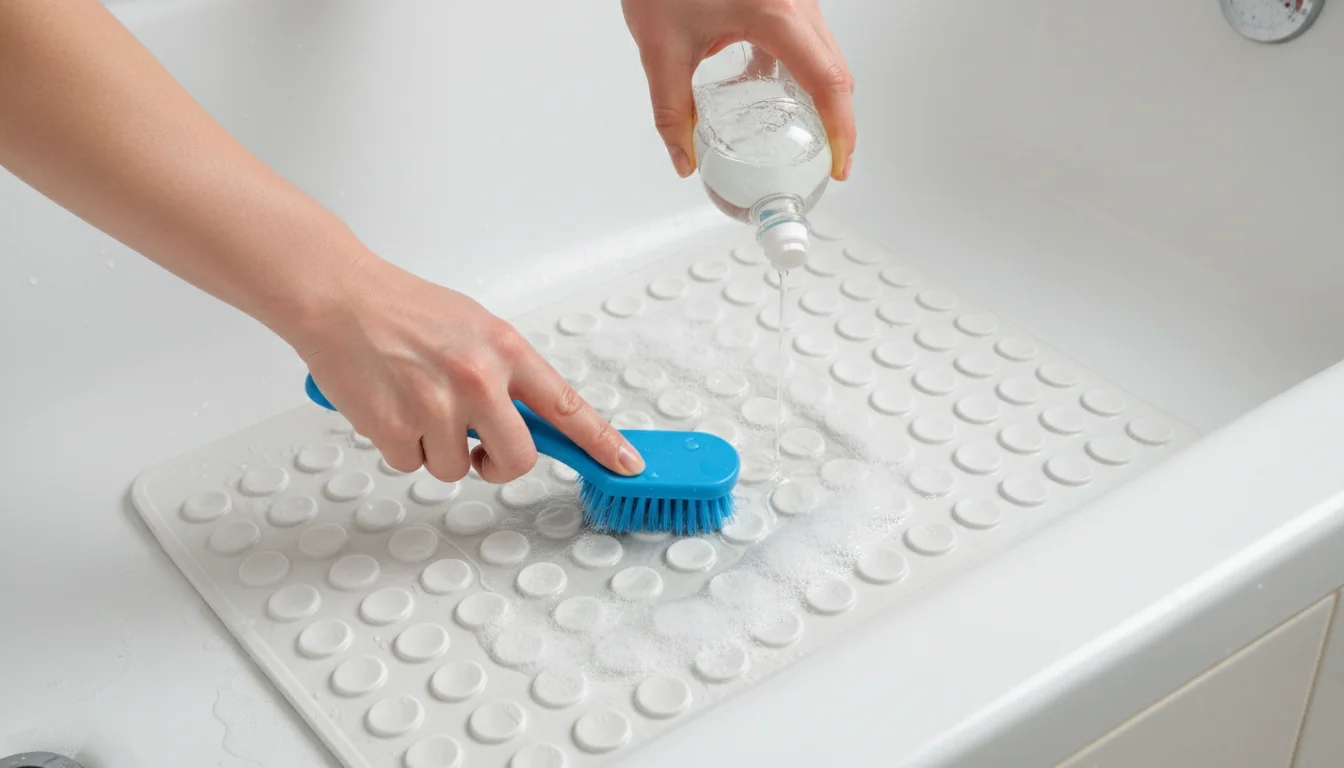
- Weekly: scrub cups with dish soap and a soft brush to cut oils.
- Biweekly: descale with 1:1 white vinegar and warm water; rinse well.
- Monthly: sanitize (if the material allows) with a mild bleach solution.
- As needed: machine wash on cold in a laundry bag; air‑dry only.
| Quick method | When to use in the shower |
|---|---|
| Rinse + wall-dry | Everyday to stop soap film and keep cups clear |
| Soapy brush scrub | Weekly for oily residue on cups and surface |
| Vinegar soak (1:1) | Biweekly to dissolve limescale, improve seal |
| Mild bleach dip | Monthly to curb bacteria; rinse thoroughly |
Limescale microridges are a top reason cups won’t re-stick. Vinegar removes scale and restores the flat contact needed for suction.
If you’re comparing formats, our range of anti‑slip styles helps match cup layout and drainage holes to the way water flows in your shower, reducing trapped moisture under the mat.
Install right: seal every shower cup
A careful install sets the tone for a secure stall. Warm the mat slightly, remove air pockets, and keep drain paths open so suction is supported by good water flow.
- Start on a clean, smooth base (acrylic, enamel, glazed tile).
- Run warm water over the underside to soften PVC/TPE for pliability.
- Press from the center outward: lean in to expel air under each cup.
- Check around the drain: align holes so water doesn’t pool beneath.
- Test under shower spray before stepping in; re-press any loose edges.
No dryer heat. High temperatures warp cups and permanently reduce suction. Always air‑dry on a wall or over the tub.
If you use a stool or shower chair, ensure legs sit flat and avoid resting on mat holes. Uneven pressure can break the seal under nearby cups.
Materials matter: shower‑safe care
Different materials respond differently to cleaners and heat. Match your routine to the mat’s label so the non-slip surface and suction cup array last longer in the shower.
- PVC: versatile, often machine washable cold; avoid high heat, harsh solvents.
- Rubber: great grip; mild soap only; avoid strong bleach concentrations.
- TPE/TPR blends: gentle detergents and lukewarm water preserve elasticity.
- Loofah‑style synthetics: fast drainage; scrub fibers to lift biofilm.
| Care move | Good fit for |
|---|---|
| Cold machine wash | PVC mats with labeled approval |
| Vinegar descale | Rubber, PVC, and TPE with mineral build-up |
| Mild bleach dip | White/light mats needing odor control (check label) |
When in doubt, choose cold water and mild soap. Harsh cleaners and heat age suction cups fast.
For stall floors that resist suction, consider mats designed to grip without cups; otherwise, keep using the rinsing‑wall‑dry routine to protect the cup geometry.
Troubleshooting: fix shower stall slips
If your mat still slides, test these fast checks before replacing it. Most problems trace back to residue, cup shape, or water trapped under the non-slip surface.
- Cup reshape: pour hot (not boiling) water over deformed cups, then press flat.
- Edge lift: scrub the base perimeter and re-press cups from the center out.
- Drain pooling: realign holes; slight tilt toward the drain improves outflow.
- Oily products: switch to low‑residue shower gels; rinse base after shaving creams.
- Surface check: if textured, use a non-suction loofah mat or adhesive treads.
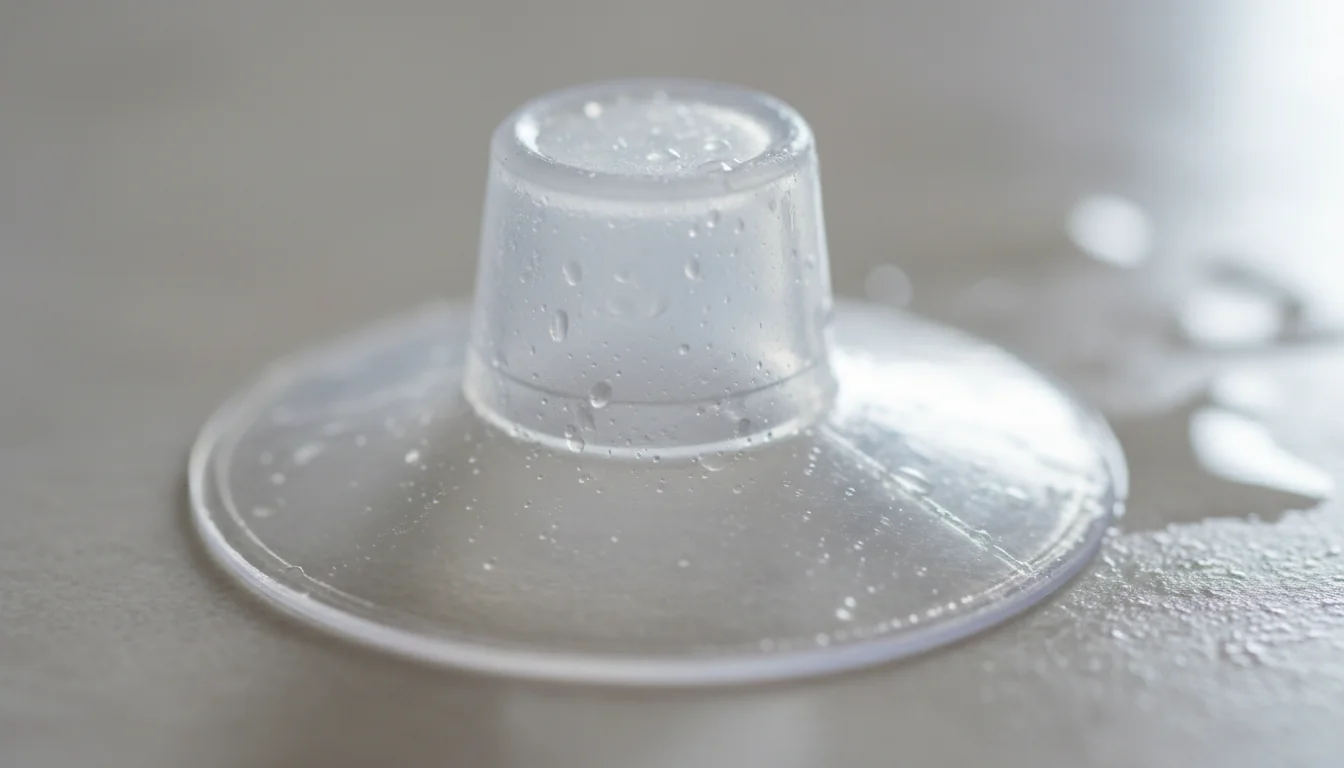
Press a single cup on a cleaned tile. If it pops off in seconds, scale remains. Repeat the vinegar step and try again.
Replace the mat if cups crack, feel sticky, or shear off. At that point, no cleaning will restore reliable shower traction.
Longer life: audit your shower routine
Maintaining the suction cups is easier when you prevent damage. Small storage and handling choices add months to a mat’s lifespan.
- Rotate the mat weekly so the same cups don’t sit in one spot.
- Store flat; avoid tight rolls that crease cup rims.
- Inspect for cracks or stiffening; replace when cups feel brittle.
- Keep away from heaters and direct sun; protect elasticity.
- If cups fail on a textured shower, switch to nonskid alternatives.
Light discoloration doesn’t affect grip, but cup rim damage does. Prioritize intact rims over cosmetics.
A short end‑of‑week check keeps your shower safer without extra scrubbing.
Guide 2026: maintain suction step by step
- After every shower, rinse both sides; hang to dry fully.
- Weekly: soak in warm water with vinegar; brush each cup.
- Sanitize monthly; rinse until there’s no bleach odor.
- Before reinstalling, degrease the base and moisten cups.
- Press cups from center outward; confirm no corner lifts.
Air-dry only. Heat from a dryer can deform cups and weaken grip.
For full-coverage installs in a typical stall, consider antibacterial shower mat that seats evenly without spanning grout lines.
Why focus on showers rather than tubs?
A shower concentrates water and soap on a smaller footprint, so suction cups meet more residue and turbulence. Regular rinsing and hanging matter more here than in wider bathtubs where water spreads out.
Do suction cups work on textured shower floors?
Not reliably. Cups need smooth, non-porous contact. On textured pans, choose loofah-style or nonskid mats that rely on friction instead of vacuum, or add permanent nonslip strips rated for wet floors.
What about children in the shower?
Ensure cups are fully seated and the surface is clean before each rinse. For kid-focused layouts and playful coverage, see fun shower mat sized for safe footing.
How often should I deep-clean a shower mat in 2026?
Weekly routine cleaning keeps cups grippy. Sanitize monthly or whenever you notice odor or cloudiness. Always rinse thoroughly so no film remains under the mat.
What if I use a shower chair or mobility aid?
Confirm cups are secure and avoid hole patterns where legs could catch. A stability-focused format like non slip shower mat for disabled can offer safer coverage.
Best shape for a corner shower stall?
Fit matters more than thickness. A tailored footprint reduces curled edges and improves cup contact; consider a corner-fitting mat to follow the base perfectly.
Can I machine-wash a suction-cup shower mat?
If the label allows it, yes—use a gentle cycle, mild detergent, and a rinse with extra water. Skip the dryer completely; hang to dry so cups keep their shape.
Maintain clean surfaces, dry between rinses, and match material to your stall to keep suction reliable. For large walk-in coverage, extra long shower mat seats evenly and reduces edge lift.
- Degrease, moisten, and press cups from the center outward.
- Rinse and hang after every shower; deep clean weekly.
- Pair the right mat type with your specific shower surface.
Apply these steps, and your non-slip setup will stay steady and hygienic all year.

0 comments