

Choosing between acrylic, stone resin, ceramic, steel enamel, solid surface, fiberglass, or a tiled shower floor? In 2026, understanding real-world constraints matters as much as features.
This guide unpacks shower tray materials: advantages and limitations. You’ll learn where each base shines, where it struggles, and how to mitigate the most common usage limits before you install.
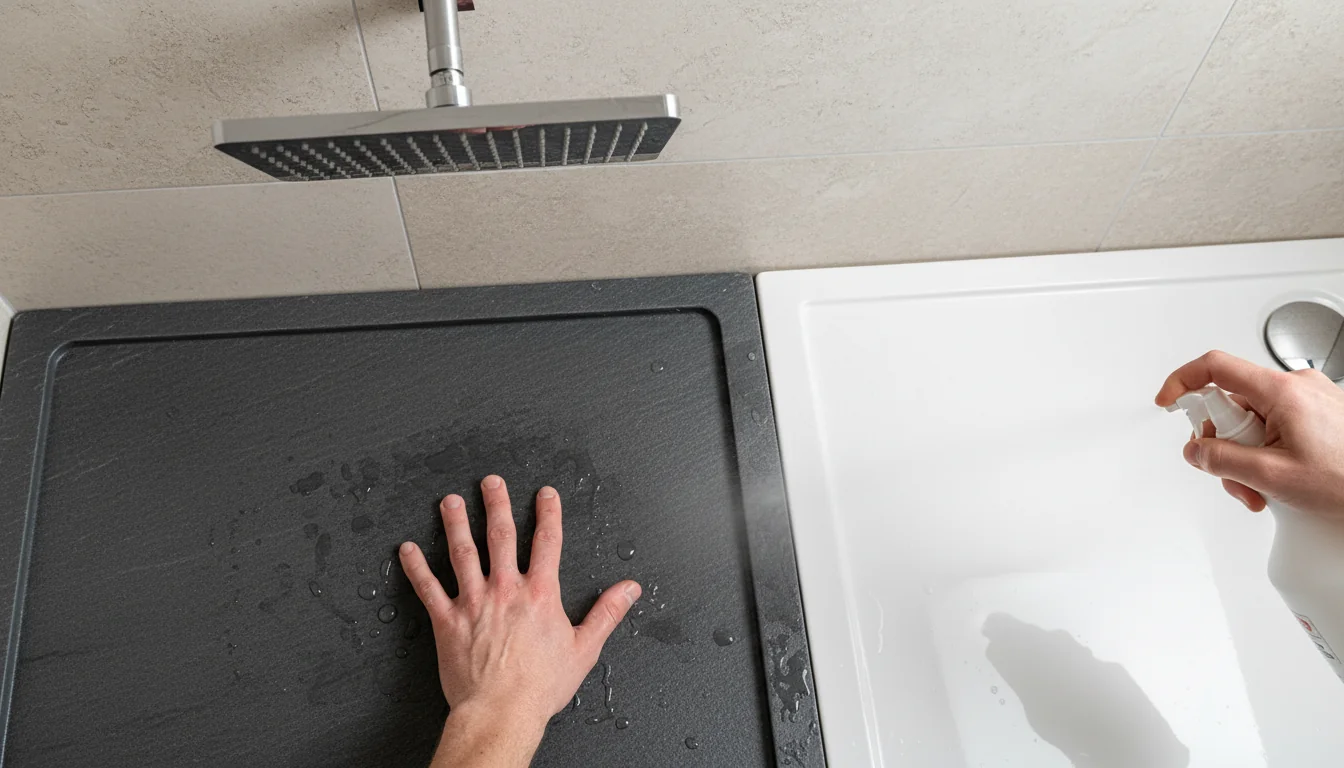
Slip safety: coatings’ weak spots
Anti-slip is essential, but applied coatings have practical downsides that many discover too late. The surface may pass a lab test, yet home conditions introduce variables that reduce reliability over time.
- Coatings can wear unevenly, especially on high-traffic zones under the shower head.
- Body oils and soap film fill the texture, lowering traction until deep-cleaned.
- Temperature cycling stresses adhesion, shortening coating life versus the tray warranty.
- Many coatings have use restrictions (hair dye, strong chemicals), limiting routine habits.
- Hand-applied textures vary; a “light” pass can underperform versus a “heavy” pass.
Prefer trays with integrated slip texture when possible. Built-in patterns remain consistent and avoid coating-specific cleaning penalties.
Acrylic, stone resin, steel enamel, and solid surface can all be textured from the mold. If you do choose an applied finish, clarify warranty length for the coating itself and compatible cleaners to avoid premature failure.

Installation risk: levels and support
Most failures trace back to the base under the base. Low-profile, walk-in trays demand perfect leveling, full bedding, and an aligned waste. Any shortcut raises the chance of movement, noise, or leaks.
- Flatness tolerance: Even 1–2 mm rocking creates creaks or hairline cracks over time.
- Subfloor stiffness: Timber floors need reinforcement under heavier stone or solid surface.
- Full-contact bedding: Partial foam blobs concentrate load; use a continuous bed where specified.
- Waste alignment: Off-centre traps twist seals; pre-mark positions before bedding the tray.
- Perimeter sealing: Missed upstands or rushed silicone lines are the fastest route to seepage.
Dry-fit the tray twice: once to verify falls toward the drain; again to confirm trap clearance with the finished floor height.
Level-entry builds amplify splash risks at the opening. Consider an accessory underfoot to temper that constraint; see our curated non-slip mat range for a complementary mitigation at the entry zone.
Durability trade-offs: impacts and heat
Each material balances longevity with specific caveats. Understanding those boundaries helps you aim for fewer surprises in daily use.
| Material | Typical constraints |
|---|---|
| Acrylic | Prone to surface scratches; can flex if not fully supported; limited color variety. |
| Fiberglass | Staining from hard water; brittle zones at corners; abrasive cleaners leave haze. |
| Stone resin | Heavy; may feel cool underfoot; needs careful handling to avoid edge chipping. |
| Ceramic | Hard but brittle; impact chips are difficult to disguise; cold touch in winter. |
| Steel enamel | Localized chipping if struck; repair kits exist but color match varies. |
| Solid surface | Dense and warm-feeling; heavier load on joists; repairs require skill. |
| Tiled floor | Grout upkeep; depends on membrane quality; slip varies by tile and texture. |
Thermal feel matters. Acrylic and solid surface feel warmer; ceramic and steel can feel colder, a comfort limitation in cool homes.
If you expect dropped items (e.g., handheld shower, shampoo), avoid brittle edges and plan a gentle slope that doesn’t funnel impacts to a single corner.
Design scope: size and cut limits
Standard trays speed projects, but fixed sizes restrict layouts. Some composites permit on-site trimming; others do not, or they void warranties if cut incorrectly.
- Check cut-to-fit rules: many stone resin and solid surface bases allow limited trimming on concealed edges.
- Visible edges need a factory finish; DIY cuts can leave porous lines that stain.
- Acrylic shells rarely tolerate trimming beyond flanges; cracking risk rises sharply.
- Color choice: acrylic is often white-focused; composites unlock textures and tones.
- Waste position is usually fixed; bespoke trays solve it but extend lead times.
Respect manufacturer cut limits. Over-trimming can collapse the support rib structure or compromise the gelcoat at the edge.
For awkward niches, consider solid surface or stone resin with defined trimming guidelines, then specify a factory-finished edge where the cut will remain visible.
Water control: drain and splash bounds
Pre-formed falls simplify drainage, but entry splash is the Achilles’ heel of open layouts. Linear drains help, yet poor placement still leaves puddles beyond the tray.
- Point vs linear drains: linear allows a single-direction slope; point needs four-way falls.
- Walk-ins need careful head placement; aim spray away from the opening.
- Upstands hidden behind wall finishes reduce perimeter leak pathways.
- Tiled floors bring grout maintenance; sealants degrade faster in busy homes.
- Low-profile bases (~35 mm) can constrain trap options in shallow floors.
Mock up splash paths with painter’s tape before drilling the head outlet. Adjust height and angle until the opening remains dry.
If you favor a fully tiled wet room, recognize the added complexity: membrane continuity, drain clamping, and slope accuracy are non-negotiable to avoid long-term seepage.

Cleaning load: textures and chemistry
Cleaning demands rise with texture depth and water hardness. A surface that hides scuffs may also trap limescale and soap scum faster, adding weekly friction to your routine.
- Gloss gelcoat wipes quickly but shows scratches; matte hides micro-wear but holds film.
- Steel enamel resists dyes; impact chips remain the main cosmetic liability.
- Acrylic dislikes abrasive powders; use non-scratch pads to avoid haze.
- Fiberglass needs frequent descaling; strong acids dull the surface.
- Tiled floors concentrate grime in grout; epoxy grout lessens but doesn’t erase upkeep.
Neutral-pH cleaners preserve gelcoats and seals. Rinse hot, then squeegee to cut drying marks in hard-water regions.
If cleaning time is a hard boundary, favor smooth composites with integrated slip texture over deep micro-grit coatings or heavy stone reliefs.
Practical steps: reduce common constraints
Use this short sequence to minimize the most frequent shower base limitations during planning and install.
- Survey structure: confirm joist span, stiffness, and waste route before choosing material.
- Pick slip strategy: prefer integrated texture or specify a maintainable rating.
- Decide drain style: align head spray, falls, and opening to contain splash.
- Finalize waterproofing: upstands plus flexible seal; treat corners as critical junctions.
- Dry-run install: test-fit the trap, check levels, and mark perimeter seal lines.
Document photos of bedding coverage and seals before walls go on. It’s free insurance against disputes later.
Don’t rely on spot-foam supports under flexible bases. Use a full support bed where specified.
Where splashing at the entry is an unavoidable constraint, consider custom shower mat sized to your opening to boost grip and absorbance without altering the base.
For very open walk-ins, large shower mat can create a drier transition zone while you fine-tune shower head placement and flow rate.
Square layouts benefit from clear sizing; extra large shower mat non slip fits common quadrant and square footprints, easing day-to-day traction limits.
Why focus on constraints first?
Because limitations shape daily comfort, cleaning effort, and leak risk. Addressing boundaries early—support, splash, and slip—prevents costly rework and improves long-term reliability.
Tray vs tiled floor: where are the main caveats?
Trays reduce interfaces but restrict size and waste position. Tiled floors unlock design but add grout upkeep and rely heavily on membrane quality and workmanship.
Which material has the fewest downsides?
There’s no universal winner. Solid surface feels warm and is refinishable but heavy; stone resin is rigid yet weighty; acrylic is light but scratch-prone; ceramic is hard yet brittle. Match trade-offs to your priorities.
How can I boost traction without replacing the base?
Supplement an open entry with extra long shower mat sized to your splash zone. Clean weekly to prevent soap film, which reduces grip on textured surfaces.
Is a low-profile tray always the best choice?
Not always. Shallow builds can constrain trap selection and access. If drainage clearance is tight, consider slightly higher profiles or re-route the waste for serviceability.
What if my tray is compact?
Smaller footprints magnify splash and slip concerns. Add a targeted accessory like large square shower mat, and prioritize head angles that keep spray away from the opening.
Any maintenance tip to ease boundaries?
Use neutral-pH products, rinse hot, and squeegee after use. Re-seal silicone perimeters when micro-cracks appear to keep waterproofing limits from being tested.
Shower tray materials: advantages and limitations are two sides of the same decision. Plan for constraints up front to unlock dependable, low-stress use.
- Confirm structure, bedding, and drain alignment before install.
- Favor integrated slip texture and manageable cleaning loads.
- Model splash paths; adjust head, falls, and entry traction.
Use these 2026 insights to choose confidently and sidestep the usual caveats.

0 comments