

Home » Blog » Computer Technician Tools » Fixing a Deformed Suction Cup: Practical Tips You Can Use
Suction cup won’t stick? If daily use has left your cup warped or misshapen, you can restore it with simple methods that actually work on real surfaces at home in 2026.
In this guide, you’ll learn fixing a deformed suction cup: practical tips you can use, from fast reshaping to surface prep and smart mounting. What’s your main issue—curling rim, hardening, or poor grip? You’ll find a clear, mobile-friendly plan you can put to use today.
Quick diagnosis: signs in use
Start with how you use the cup and what you see. Most failures come from a deformed rim, trapped air, or a surface that defeats the seal. A 30‑second check saves you from fixes that won’t hold.
- Rim shape: curls “outward” (won’t seal) or “inward” (buckles under pressure).
- Cup body: flattened “dish” (warped) or hardened silicone/PVC that won’t flex.
- Surface: not truly flat, micro‑textured, or oily. Glass and tile seal best; painted walls and matte metal often leak air.
- Environment: cold room stalls adhesion; direct sun softens the cup and weakens hold.
- Mounting method: pressed from the center, then swept out air? Or slapped on, trapping bubbles?
Thin water film on the cup (one clean fingertip’s worth) lets you push out air and improve the initial vacuum.
If the rim no longer lies flat, prioritize reshaping before any cleaning. Use matters: a misshapen lip won’t seal, no matter how hard you press.

Shape recovery: heat–chill for use
Controlled heat relaxes memory in soft cups; quick cooling “sets” the restored shape. This cycle suits everyday use and avoids harsh chemicals that can ruin grip.
- Wash first with mild soap, rinse, and inspect for cracks or tears.
- Heat: submerge in hot water, temperature ideal: 60–70°C, for 2–3 minutes.
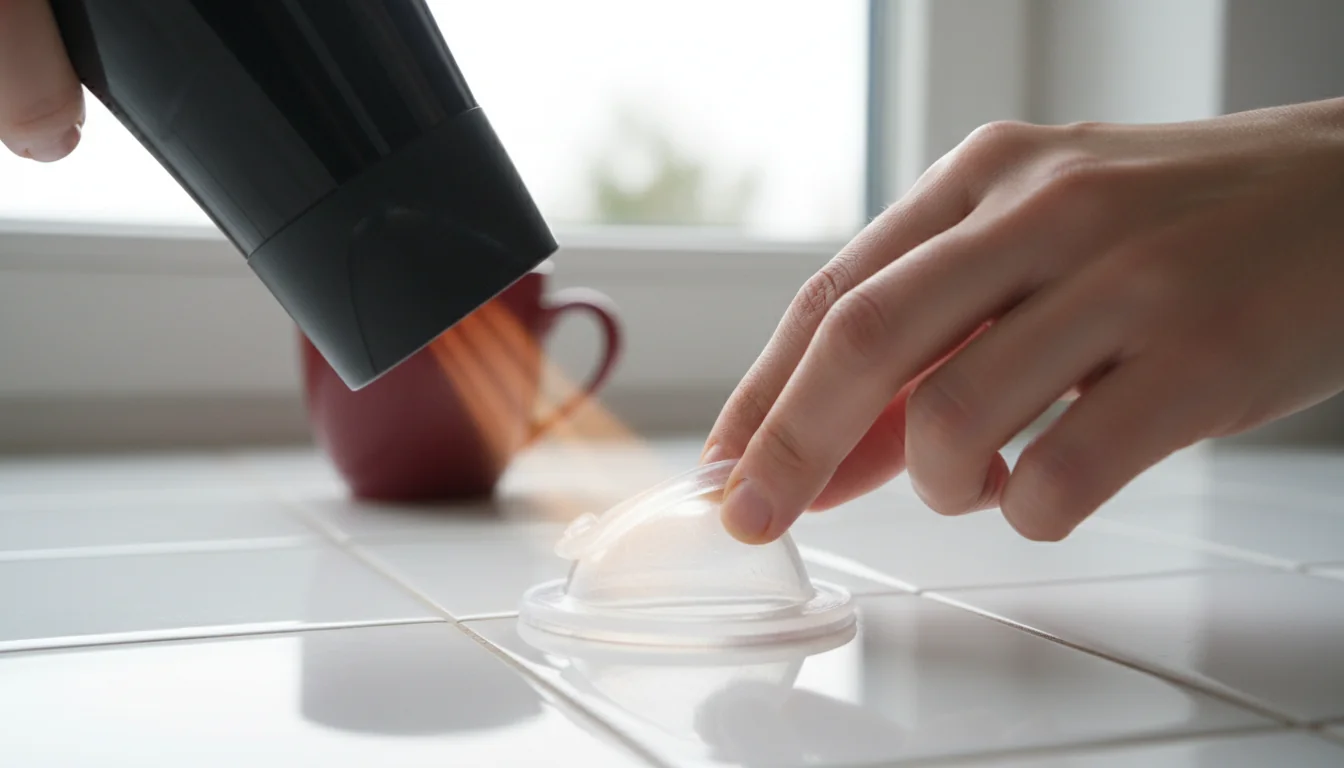
- Form: press the rim flat against smooth glass; massage curls back to level.
- Chill: move to cold water or the fridge for 10–15 minutes to set the lip.
- Test: mount on clean glass with steady pressure; listen for escaping air.
| Cup material | Safe heat for reshaping |
|---|---|
| Silicone (common in 2026) | 60–80°C brief soak; avoid boiling to prevent soft over‑stretch. |
| PVC / vinyl | 50–60°C; higher heat may warp permanently or cloud the surface. |
Do not twist a soft, hot cup off a surface. Let it cool to avoid stretching the rim out of round.
If deformation is severe, repeat the cycle twice. Recovered shape improves everyday use and lowers the pressure needed to create a seal.
Grip restored: cleaning for safe use
A perfect seal needs a clean rim and a clean surface. Residues block vacuum, while dust creates micro‑channels that bleed air under load.
- Rim: wash with mild dish soap; rinse well; shake off droplets.
- Surface: wipe with a damp cloth; for grease, use diluted isopropyl alcohol; finish with water only.
- Micro‑film: add a single drop of water to the rim for better initial adhesion.
- Mounting: center the cup, press from middle, then sweep outward to expel air.
- Check: tug gently after 10 seconds; re‑press if you hear faint hissing.
Warm surfaces seal faster. In cool rooms, hold pressure for 30–45 seconds to let the rim conform.
If your suction cup won’t stick even after cleaning, revisit shape recovery. Use and cleaning go hand in hand: a hardened rim won’t respond to soap alone.
Rim tuning: small fixes for use
Tiny rim defects sabotage the whole seal. Gentle refinements can bring a worn cup back into daily use without gimmicks or glues.
- Burr removal: use a very fine nail buffer on raised nicks; keep the lip flat.
- Re‑flattening: press the wet rim to clean glass under a book for 20–30 minutes after the heat soak.
- Inside‑out reset: flip thin cups briefly to relax a “memory curl,” then flip back and chill.
- Micro‑gasket: on rough tile, a sheet of thin food‑wrap between cup and surface can reduce leaks.
- Weight realism: stay within the cup’s rated load; over‑loading pulls air in over time.
Do not use glue on rims or walls. Adhesives deform soft plastics and leave films that prevent future suction.
These tweaks are about control. In real use, a well‑tuned rim holds longer with less force and fewer remounts.
Better hold: mounting for your use
Match the mounting strategy to the surface and the job. Use differs: vertical glass, humid tile, and matte metal each demand a specific approach.
| Surface | Preparation for best use |
|---|---|
| Glass / mirror | Soap, rinse, damp wipe, tiny water film. Press 30 s. Ideal for heavy loads. |
| Glossy tile | Degrease grout haze, avoid joints. If micro‑texture, try thin wrap trick. |
| Painted wall | Lightly wipe; test hold for 5 minutes before loading; many paints leak air. |
| Matte metal | Remove oils; warm surface slightly; use larger cups to average texture. |
- Size up: larger cups spread pressure and tolerate micro‑texture better.
- Orientation: horizontal mounts hold more than vertical under equal vacuum.
- Edge tabs: lift release tabs to remove; don’t yank straight out.
- Load test: wait 10 minutes before trusting with valuables.
On humid tile, wipe both surfaces dry, then apply the thinnest water film right before mounting.
Choose strategy by use, not habit. You’ll get fewer surprises and longer, safer holds.
Safe lifespan: replace for reliable use
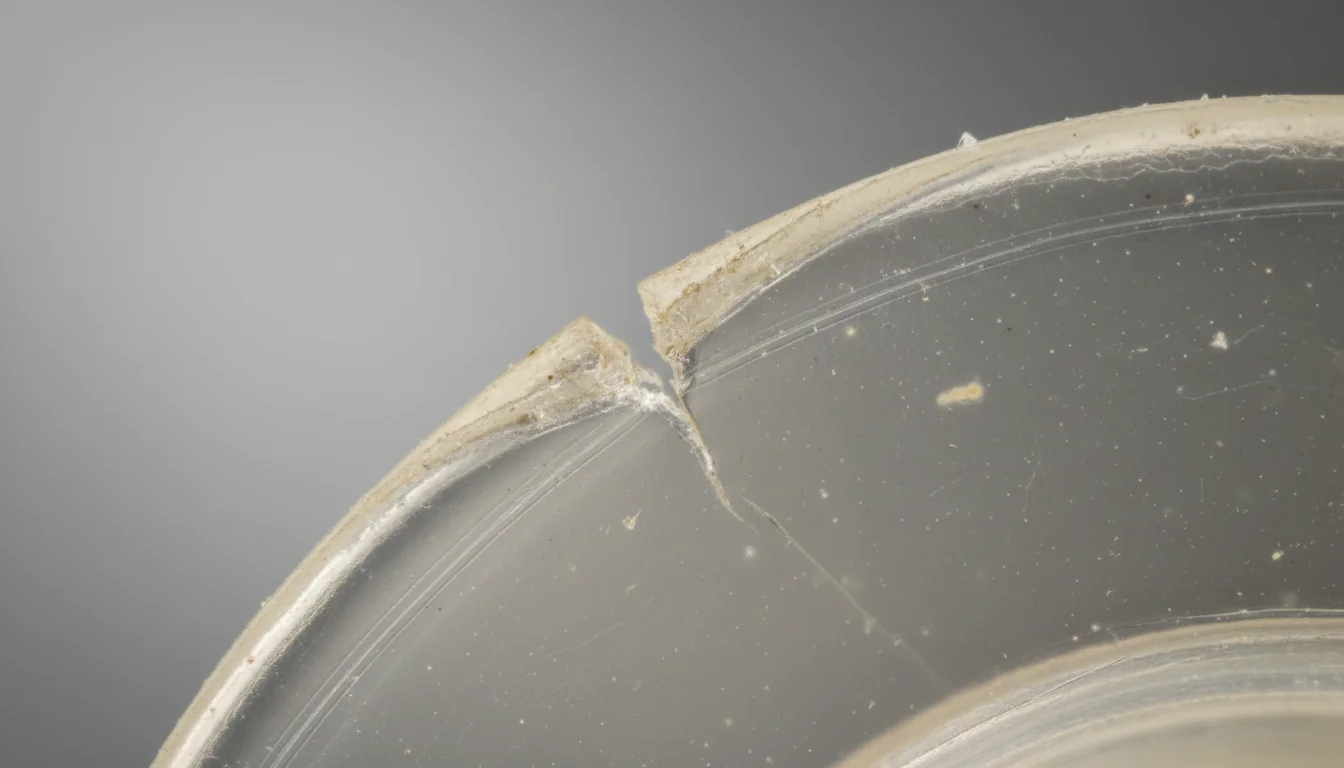
Some cups retire early. Age, UV, and load cycles harden the rim and create micro‑cracks that no method can reverse for daily use.
- Visible crazing, tears, or ongoing rim cloudiness after heat–chill.
- Permanent “cup within a cup” dent that reforms after every mount.
- Grip time drops below 24 hours on clean glass at moderate load.
- Rim no longer lies flat on a table without rocking.
Storage matters: keep cups rim‑up, unloaded, in a cool, shaded drawer to prevent warping.
For safety‑critical use, retire borderline cups. A low‑cost replacement beats a sudden drop on tile, glass, or electronics.
Quick guide: 5 steps you can use
- Wash cup and surface; rinse; final wipe with a damp cloth.
- Heat‑soak the cup (60–70°C, 2–3 min), then flatten rim on glass.
- Chill 10–15 min; inspect that the rim is flat and smooth.
- Add a micro‑drop of water; press center, sweep out air.
- Wait 10 min; load gradually; recheck after 1 hour of use.
If the cup still creeps, step up one size or move to a smoother surface for the same use.
Don’t yank a stuck cup. Lift the edge tab to admit air and save the rim for future use.
Why focus on real‑world use, not just cleaning?
Because use reveals the true fault. If a rim is warped, cleaning won’t fix sealing under pressure. Diagnose how you mount, the surface, and load, then apply reshaping.
How does this compare to standard “just wet it” advice?
A water film helps, but only after shape and surface are right. Our method restores form, then optimizes use with controlled pressure and dwell time.
What are the advantages of a heat–chill cycle?
It relaxes the polymer, resets the lip, and improves flexibility for daily use. It’s repeatable, fast, and avoids residues that sabotage suction later.
Does this work on matte walls or textured tile?
Often, no. For tough use cases, try larger cups, the thin‑wrap trick, or switch to glossy zones. Always test hold time before adding weight.
Can I use oil or petroleum jelly to improve grip?
Avoid oils. They creep and break the vacuum. A tiny water film is safer and keeps the rim ready for future use on different surfaces.
What if my cup releases after a few hours?
Recheck rim shape and surface prep, then extend press time. For heavy use, select a larger diameter or reduce the load. Temperature shifts can also bleed air.
When should I stop trying to fix and replace it?
Cracks, persistent cloudiness, and rims that won’t sit flat mean retirement. For safe, repeated use, a fresh cup is the reliable choice.
Restoring a deformed suction cup is about shape first, surface second, and mounting that matches your use.
- Reset the rim with a gentle heat–chill cycle.
- Prep both sides and use a micro water film.
- Match strategy to surface, then load‑test before trust.
Apply these steps, and your cups will return to steady, safe use in 2026—without gimmicks or guesswork.
0 comments